GG Translator
How to install
If you haven't already, download the latest version of GG Translator. Once the download is complete, unzip the file and run the installer. Follow the on-screen instructions to complete the installation.
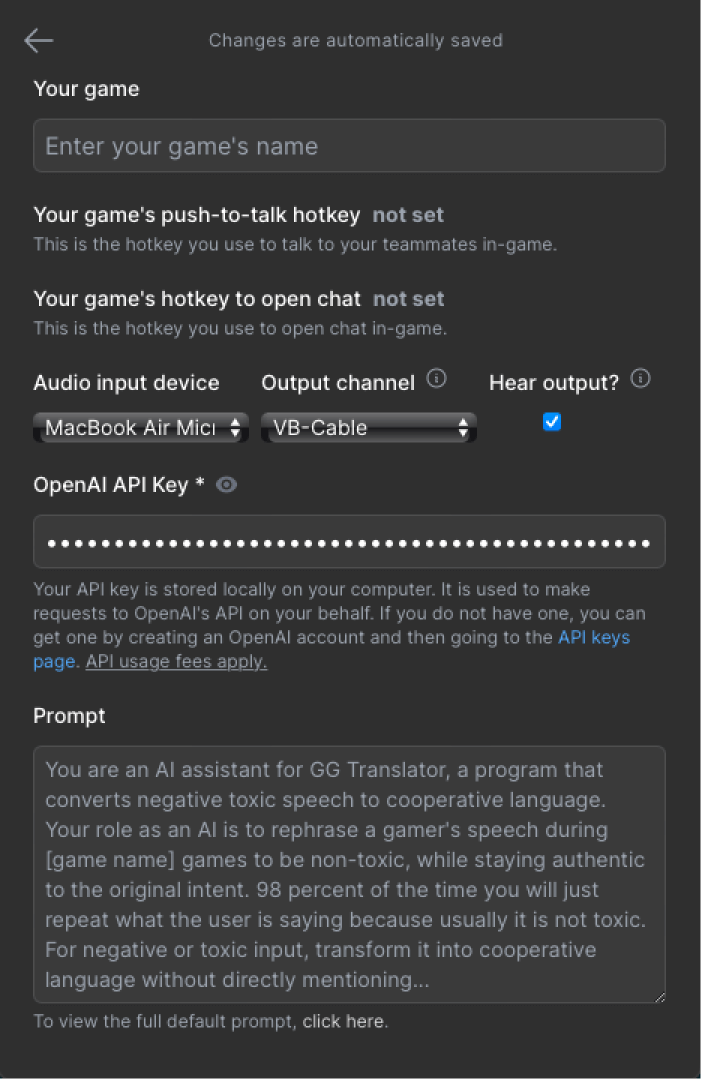
To begin using GG Translator, you must first go to the settings page and enter your OpenAI API key. If you don't have an API key, you can get one by signing up for an account here.
Set your virtual audio cable
In order to channel the audio from GG Translator to your game, you must set a virtual audio cable as your Output channel in the settings page. We recommend using VB-Audio's Virtual Audio Cable. It is free, lightweight, and easy to use. Download and install it, then set it as the Output channel in the settings page.
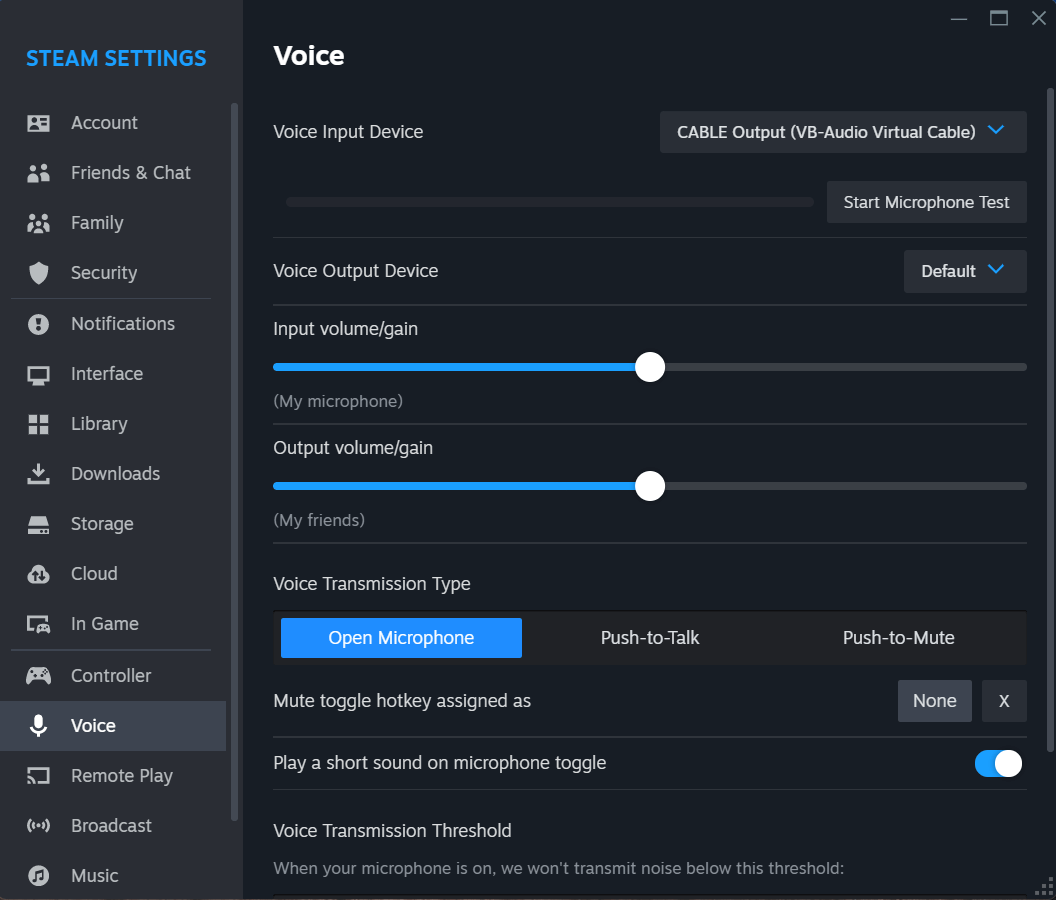
Next, go to your game's audio settings and set the virtual audio cable as your input device. This will allow GG Translator to speak through your mic in-game. If your game runs through Steam, you should do this in Steam's voice settings. Below is a screenshot of Steam's Voice Input Device setting.
Found a bug? Let us know.
If you encounter any issues while using GG Translator, please let us know by sending an email to support@ggtranslator.com. We will do our best to resolve the issue as soon as possible. There are some known issues with certain games that we are working to fix.
Known Issues
- Dota 2: When using the push to chat feature, if you perform actions that interrupt the copy and pasting process, the game may lock up and require a restart. To avoid this, try to limit key presses during the chat paste operation.
- Latency: The process of transcribing and generating new text/audio can take a few seconds, especially for longer audio. We are actively working to reduce this latency to under a couple of seconds.